


Clogged drains are a common household issue that can cause significant inconvenience. Fortunately, many clogs can be resolved with a few simple tools and techniques. Follow this step-by-step guide to unclog your drain and restore normal water flow.
Step 1: Gather Your Tools and Materials
Before you begin, make sure you have the following items:
- Plunger
- Drain snake (also known as a plumber’s snake or auger)
- Baking soda
- White vinegar
- Boiling water
- Rubber gloves
- Bucket
- Adjustable wrench (if needed)
Step 2: Clear the Area
Remove any standing water from the sink or tub. You can use a cup or small container to bail out the water and pour it into a bucket. This will make it easier to work on the drain.
Step 3: Use a Plunger
- Position the Plunger: Place the plunger over the drain, ensuring a good seal. If you are unclogging a sink with an overflow hole, cover the hole with a wet cloth to prevent air from escaping.
- Plunge the Drain: Push the plunger down firmly and then pull up quickly. Repeat this several times, maintaining a good seal. The suction created by the plunger can help dislodge the clog.
- Check for Drainage: Remove the plunger and see if the water starts to drain. If the clog is still present, proceed to the next step.
Step 4: Use Baking Soda and Vinegar
- Pour Baking Soda: Pour about half a cup of baking soda directly into the drain.
- Add Vinegar: Pour one cup of white vinegar into the drain. The mixture will fizz and bubble, helping to break down the clog.
- Wait: Allow the baking soda and vinegar to sit for 15-20 minutes.
- Flush with Boiling Water: Boil a kettle of water and carefully pour it down the drain. The hot water will help flush away the loosened debris.
Step 5: Use a Drain Snake
- Insert the Snake: If the clog persists, insert the drain snake into the drain. Push it in until you feel resistance.
- Rotate the Snake: Rotate the handle of the snake to break up the clog. Push and pull the snake gently to work it through the blockage.
- Remove the Snake: Pull the snake out of the drain, bringing any debris with it.
- Check for Drainage: Run water to see if the drain is clear. If necessary, repeat the process.
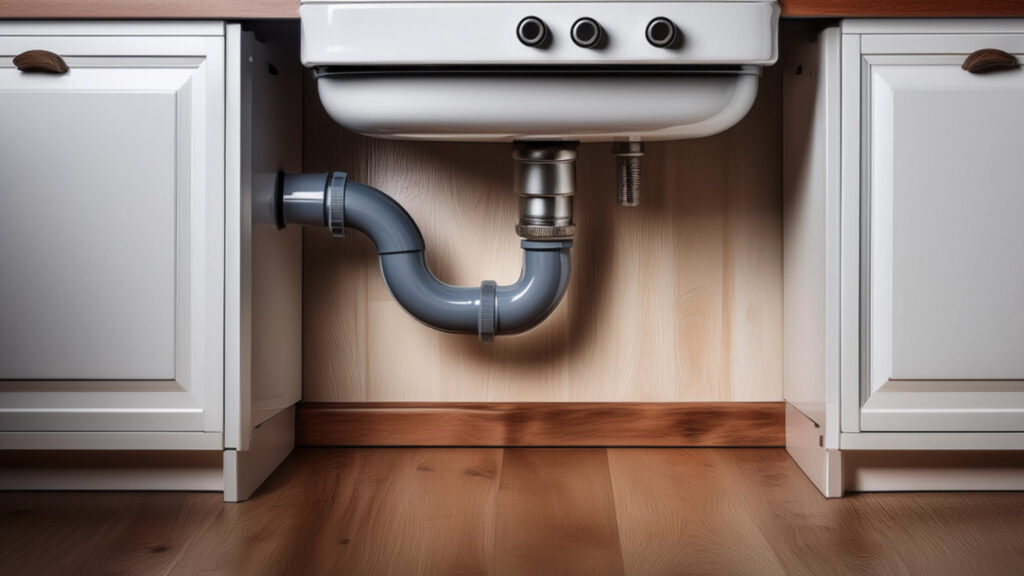
Step 6: Clean the P-Trap (if needed)
If the clog is still not resolved, it may be in the P-trap (the curved pipe under the sink).
- Place a Bucket: Position a bucket under the P-trap to catch any water or debris.
- Loosen the Nuts: Use an adjustable wrench to loosen the nuts on both ends of the P-trap.
- Remove the P-Trap: Carefully remove the P-trap and empty its contents into the bucket.
- Clean the P-Trap: Rinse the P-trap with water and ensure it is clear of debris.
- Reassemble the P-Trap: Reattach the P-trap and tighten the nuts.
- Check for Leaks: Run water to ensure there are no leaks and that the drain is clear.
Step 7: Prevent Future Clogs
To avoid future clogs, consider these preventive measures:
- Use drain covers to catch hair and debris.
- Avoid pouring grease or oil down the drain.
- Regularly flush drains with hot water.
- Use baking soda and vinegar monthly to maintain clear drains.
Conclusion
Unclogging a drain can be a straightforward task with the right tools and techniques. By following this step-by-step guide, you can effectively clear most clogs and keep your drains flowing smoothly. If the clog persists despite your efforts, it may be time to call a professional plumber for assistance.
